

Intro [^]
Assuming you have used Clonezilla Live to make a backup of your Windows XP system (partition /dev/sda1), you will probably be wondering what to do with it now. Well, one option would be to keep it to the disk you used to save it in, store the disk, and use it whenever you need it. Another option would be to create a DVD you can use to restore this image.
Before, up to Clonezilla-SysRescCD 2.6.0, the process to create an automated restore DVD required entering command line prompt and writing some commands, that can be uncomfortable or even difficult for many people.
Later, a TUI option to create an automated recovery disc was added to Clonezilla Live, and ocs-iso script included in Clonezilla-SysRescCD 3.1.0 and newer has a TUI too. Old command-line options are no longer supported. This page walks you through the creation of an automated restore DVD via TUI.
You have to boot Clonezilla Live, using Clonezilla-SysRescCD.
 |
The following pressentation has been made using Clonezilla Live v 1.2.5-17 |
Creating the disk image [^]
Clonezilla-SysRescCD starting screen [^]
If you're fine with US keymap and English language (available languages are English, Spanish, French, Italian, Japanese and Chinese [both simplified and traditional]) or don't mind editing the boot parameters, just select Clonezilla Live at the starting screen and press ENTER. When the system comes up, it will load the program that will preform the backup. After that continue from this step.
If you need to change these settings, select one of the available Clonezilla Live menu entries, and press TAB. The current boot parameters will be displayed.
The default parameters for booting Clonezilla Live on a 1024x768 screen, are the following:
append initrd=/live/initrd1.img boot=live union=aufs
ocs_live_run="ocs-live-general" ocs_live_extra_param=""
ocs_prerun="/live/image/restorecd/prerun.normal" ocs_live_batch="no"
ocs_lang="en_US.UTF-8" ocs_live_keymap="NONE" vga=791 nolocales
By deleting the words in red, you instruct Clonezilla Live to ask you the values of these parameters. When the appropriate changes have been done (as shown bellow), just press ENTER to boot.
append initrd=/live/initrd1.img boot=live union=aufs
ocs_live_run="ocs-live-general" ocs_live_extra_param=""
ocs_prerun="/live/image/restorecd/prerun.normal" ocs_live_batch="no"
ocs_lang="" ocs_live_keymap="" vga=791 nolocales
Screen "Choose Language" [^]
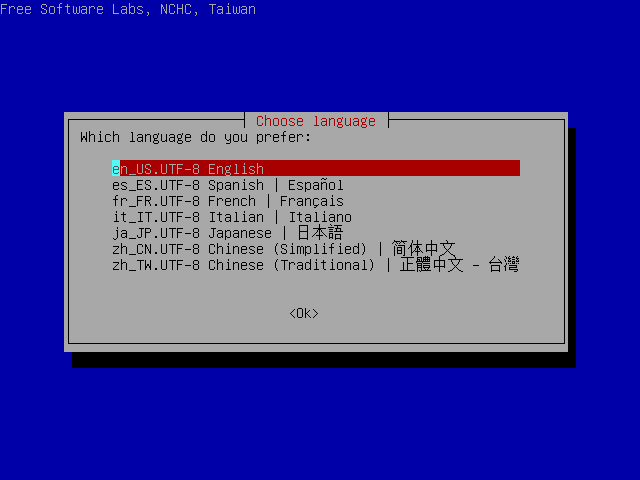
I select "en_US.UTF-8 English" and press ENTER.
Screen "Configuring console-data" [^]
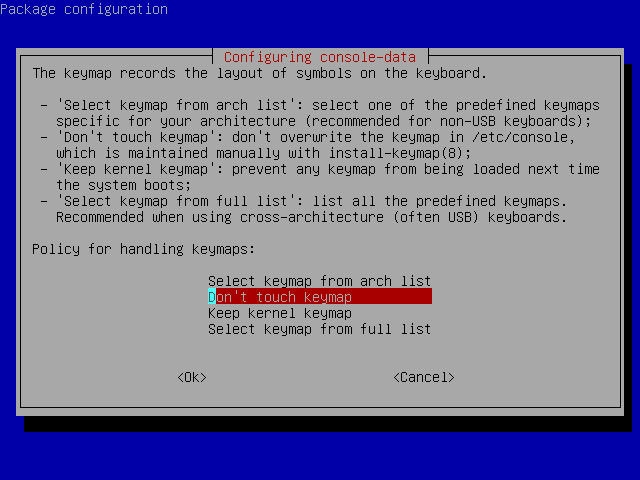
I select "Select keymap from full list" and press ENTER. If you're using US keymap, the default option "Don't touch keymap" is a better choice.
Screen "Configuring console-data" [^]
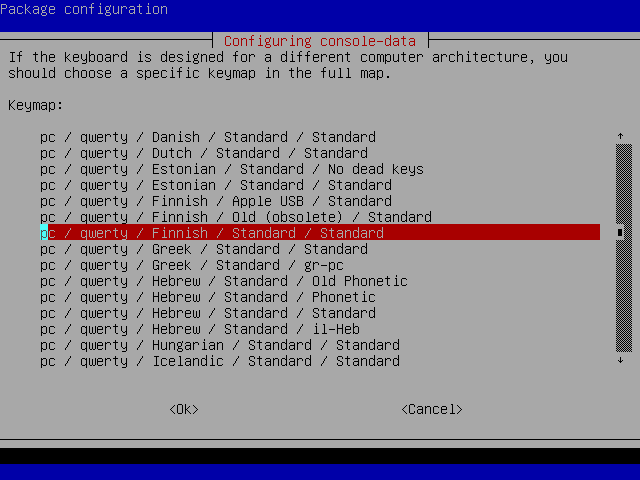
Because I haven't changed my keyboard, I select "pc / qwerty / Finnish / Standard / Standard". Because you most likely use a different keyboard, choose the one you use.
Screen "Start Clonezilla" [^]
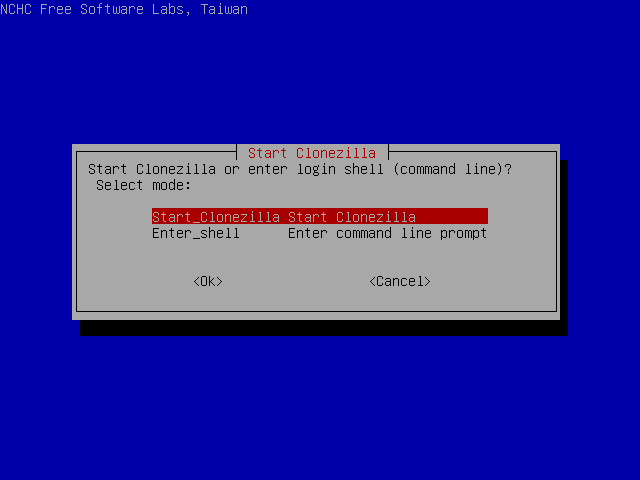
I select "Start Clonezilla" and press ENTER.
Screen "Clonezilla" [^]
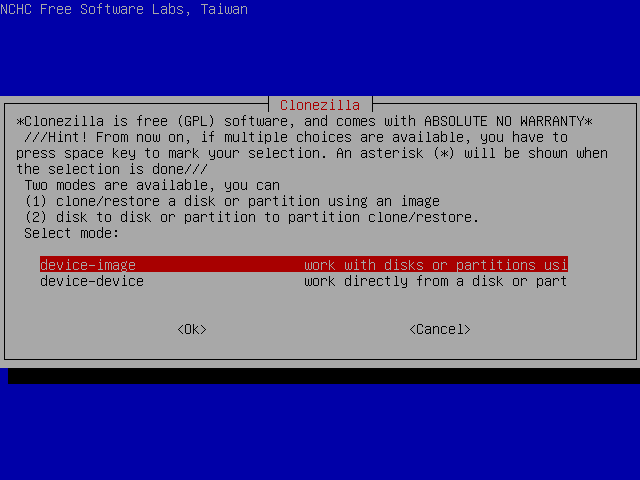
I select "device-image" and press ENTER.
Screen "Mount clonezilla image directory" [^]
In this screen I can select the way the image file directory has been saved.
Available options are local directory, remote directory through ssh, samba or nfs and skip, to use the previously used directory. More info about the image file can be found at section "About the Image file".
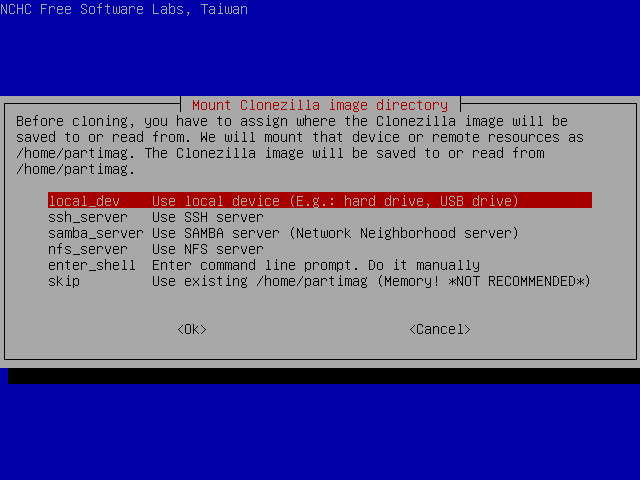
I select "local_dev" and press ENTER.
Next screen [^]
This is where I choose the location of the image file.
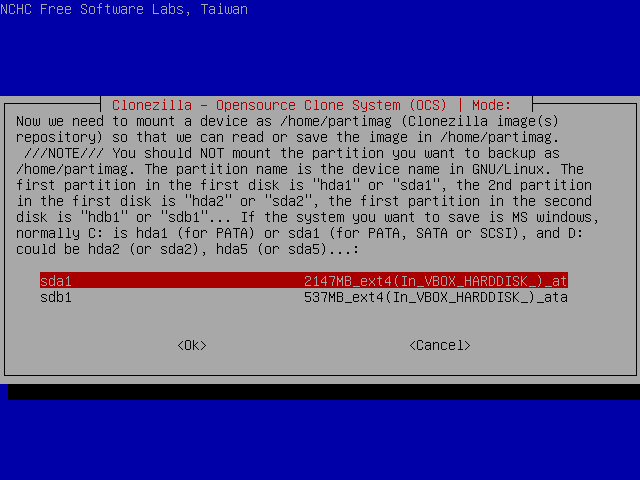
I select partition sda1 and press ENTER.

and then ENTER again.
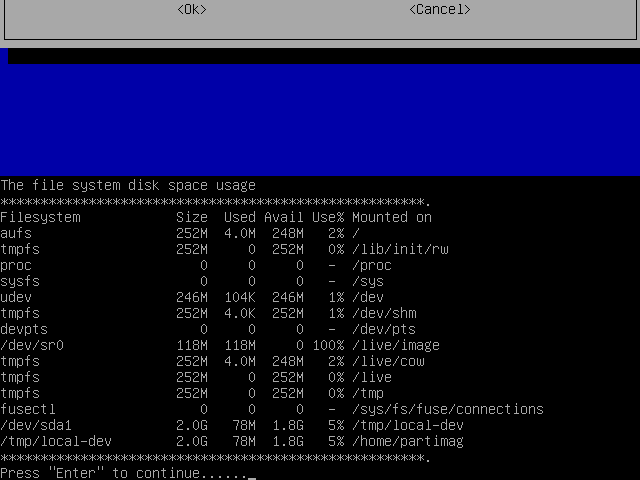
This screen displays the mounting result.
As we can see, /dev/sda1 has been successfully mounted under /tmp/local-dev.
Next Screen [^]
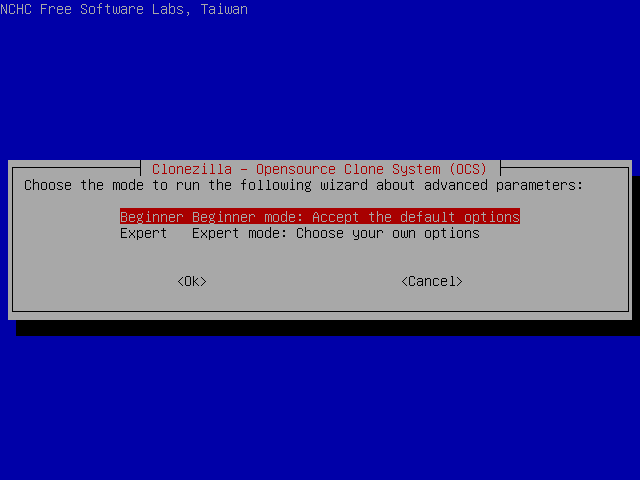
I select Beginer mode to accept the default restore options, which are used if the recovery disk is ever used. If you select Expert mode, you can choose the options yourself. More details can be found here.
Screen "Clonezilla: Select mode" [^]
Here I can select the desired operation.
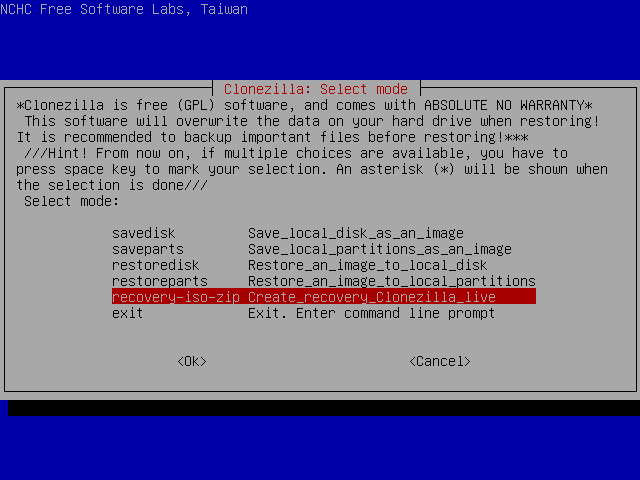
I select "recovery-iso-zip" and press ENTER.
Next Screen [^]
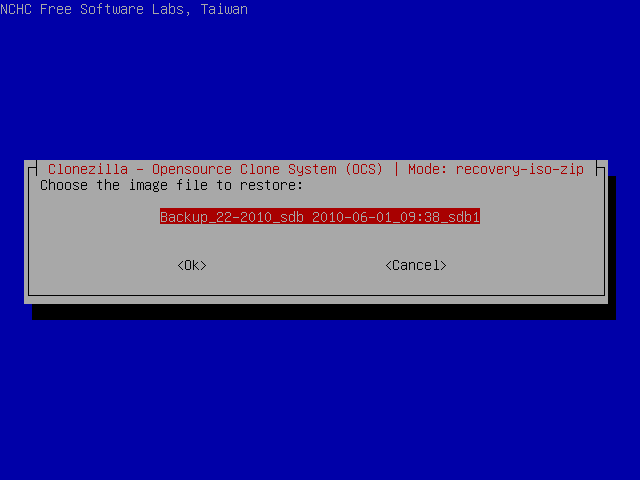
In this screen I select the image folder. This partition contains only one image.
Next Screen [^]
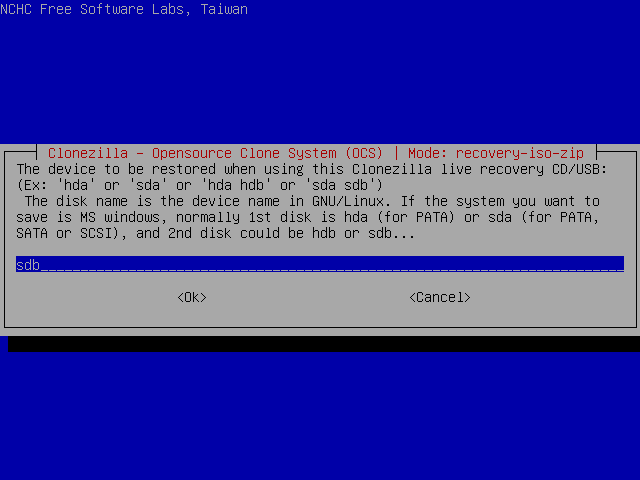
Now I am asked to select which disk the image will be restored to, if the recovery disc is used. Because this image is a backup, I choose the same disk where the original data resides. If you're upgrading your hard drive, choose the new drive.
Next Screen [^]
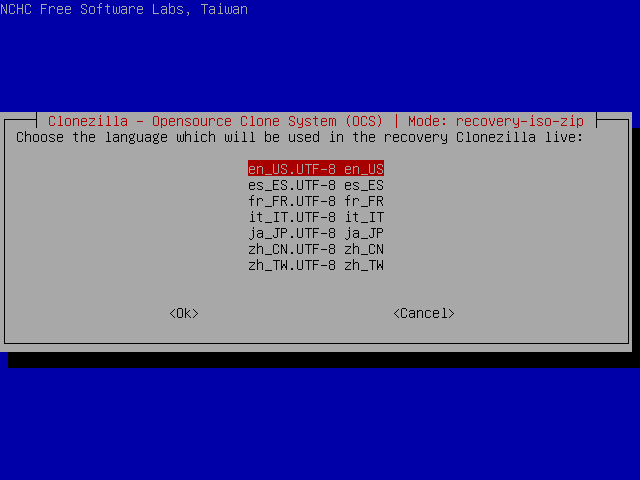
In this screen I can select the language that the recovery disc uses. I choose "en_US.UTF-8".
Next Screen [^]
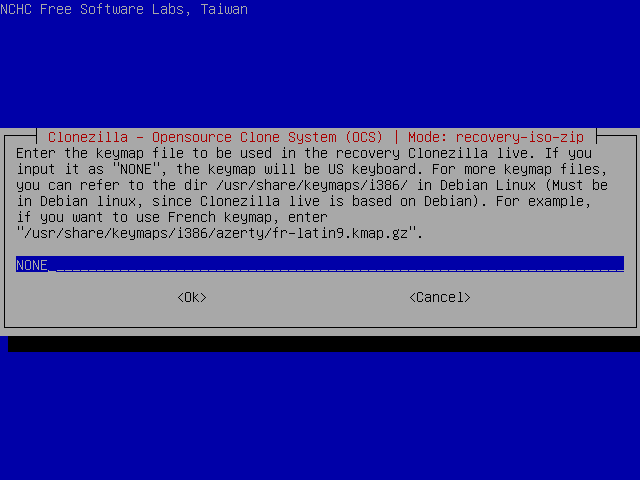
This screen allows me to select the keymap that the recovery disc uses. Unfortunately, changing the keymap requires knowing where the keymap file resides in Debian GNU/Linux. Because I don't know it, I just press ENTER to accept US keymap.
Next Screen [^]
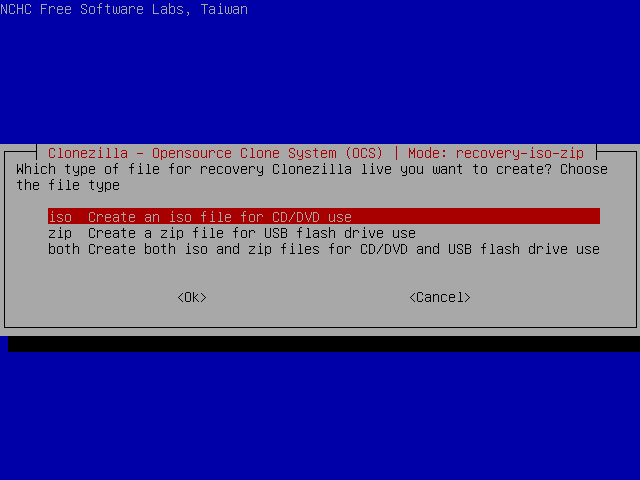
I select "iso" to create a CD/DVD disk image which I can burn to a recordable CD/DVD disc. The good thing about recordable discs is that overwriting the backup by accident is impossible. The "zip" option creates a ZIP file which can be used to create a bootable pendrive or external hard drive.
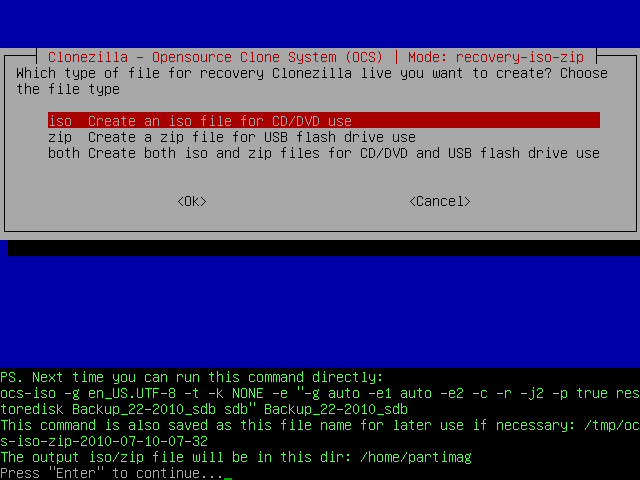
Then the program will display the command that will be executed and will ask me to press ENTER.
Screen "Excessive Image Size" [^]
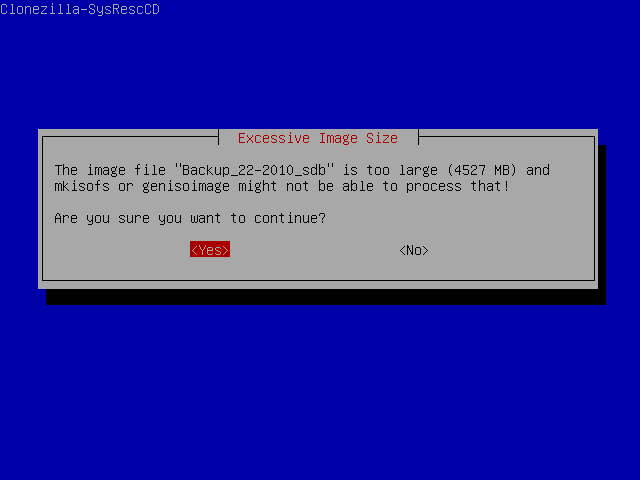
You will see this screen if the image file you're about to create is larger than a single layer DVD. The screen warns that mkisofs or genisoimage (the programs which actually create the image) might be unable to process a disk image that big. However, even bigger problem is that you need a dual layer DVD or Blu-ray disc to burn the image.
Screen "Customization section" [^]
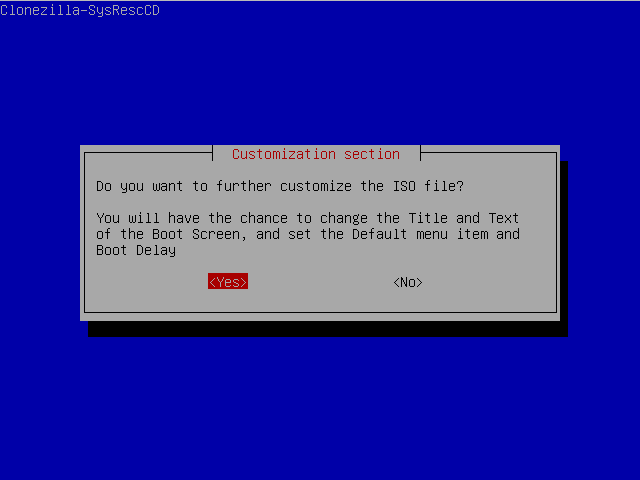
Now I am asked if I want to customize the boot menu of the disc. I answer "Yes". If you don't want to customize the menu, continue from this step.
Screen "DVD Title" [^]

In this screen I select the title of the boot menu. I type "Home PC Restore DVD".
Screen "Menu Items Caption" [^]
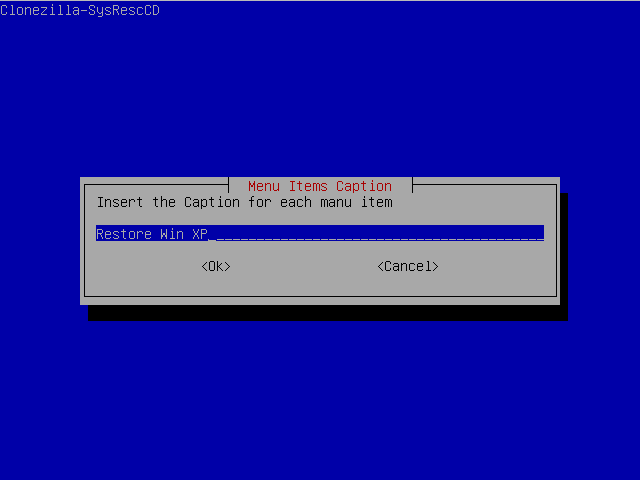
This screen allows me to select the caption for all menu items. I enter "Restore Win XP".
Screen "Boot delay" [^]
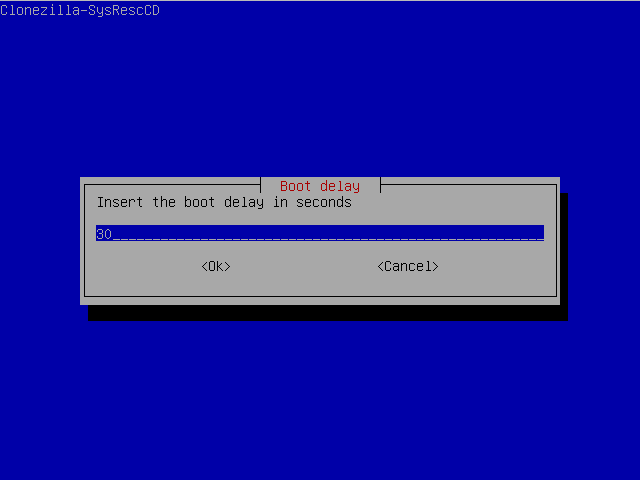
I press ENTER to accept the default delay of 30 seconds. It means that when a computer is booted from the restore disc, it waits 30 seconds before choosing the default option automatically. You may want to reduce this delay if, for example, your keyboard doesn't work in boot menu and you must wait until the delay ends.
Screen "Default Boot Item" [^]

In this screen I can select the default option of the menu. Selecting one of the options that restore the image makes using the disc even easier, but also raises the risk that the image is restored accidentally. Another reason to select such option may be that your keyboard doesn't work in boot menu, preventing you from choosing any non-default option. I select the first option that restores the image using pixel dimensions of 1024*768.
Screen "Boot Screen Image" [^]
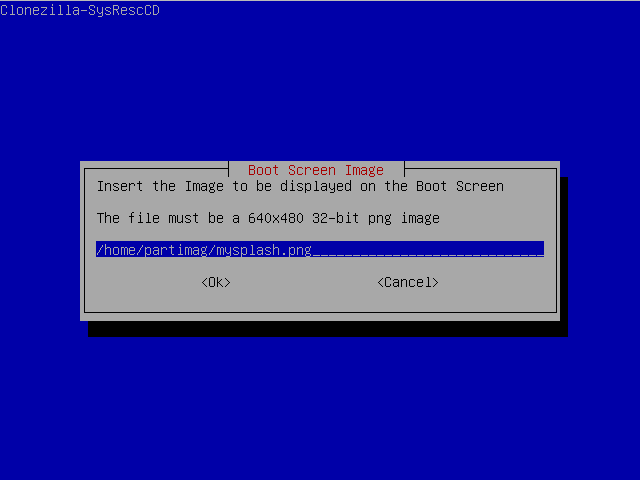
This screen allows me to select the background picture of the menu. Note that the picture must be in the same partition that contains the disk image, if you don't mind entering command line and mounting the right partition manually. I choose picture mysplash.png in the root of the partition. Because the partition has been mounted in /home/partimag, the full path of the picture is /home/partimag/mysplash.png.
Screen "ISO Label" [^]

In this screen I can select the volume label of the disc. Volume label is the name of the disc you may see in various situations, for example in the notification you see when you insert the disc into your DVD writer. I type "Backup_52-2009_hdb".
Screen "Publisher ID" [^]
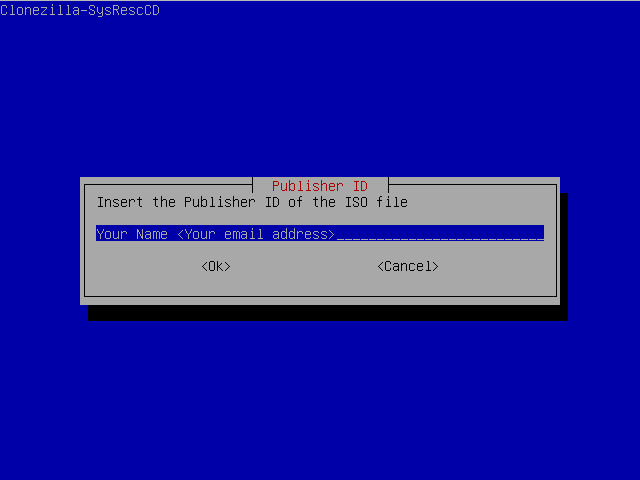
This is where I choose the publisher ID of the ISO file and the disc. Publisher ID means the person or company who created the disc. However, at least in GNU/Linux reading the publisher ID is, strictly speaking, a challenge. Here are instructions to read the publisher ID of a ISO file. I didn't find any working instructions to read the ID from the disc.
Starting the creation of the disk image [^]
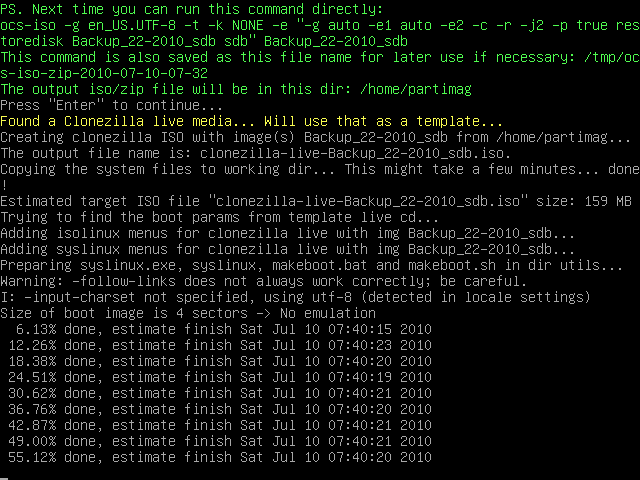
After that, creation of the disk image begins. Note that no confirmation is asked it the disk image is small enough to fit to a CD.
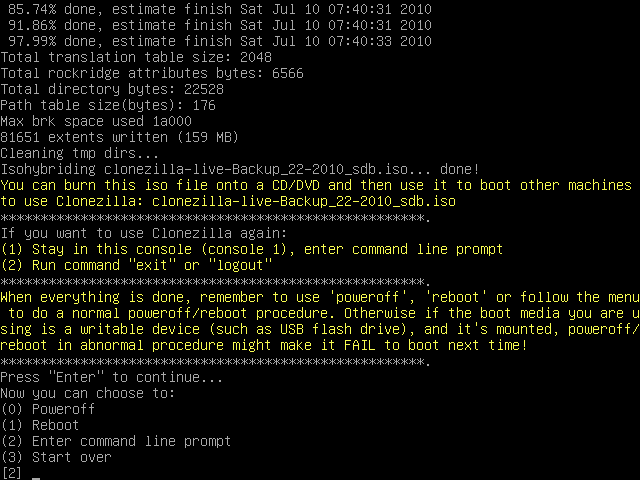
When the disk image is successfully created, I must reboot in order to burn the disc because my DVD burner is still in use. Clonezilla Live can be loaded into computer memory during boot in order to be able to burn disc(s) within it. However, due to a known bug, the disk image can't be created if Clonezilla Live has been loaded into memory. (source) Thus, I press 1 and ENTER to reboot to another operating system and burn the image using graphical burning program. Follow this link for instructions. If you've created a ZIP file, follow this one instead.