

What to do with the disk image [^]
The previous page contains partial instructions to create an automated recovery DVD. They're partial because they only tell how the disk image can be created, not what one should do with the image. Of course, partial instructions are not enough, but don't worry - this page is the other part.
Earlier versions of Clonezilla Live allowed creating the DVD without reboot, but it's no longer possible due to a known bug. The disk image can't be created if Clonezilla Live has been loaded into memory (source) and the image can't be burned to disc if Clonezilla Live isn't in memory. And if the computer must be rebooted anyway, it's a good idea to use one's favorite operating system and a graphical burning program for burning the disc. Doing so also allows reading these instructions while burning the disc.
This page walks through burning the disc by using ImgBurn and K3b. The instructions can be adapted for many other burning programs as well. If your burning program is too different, download either of the programs mentioned - they both can be downloaded for free.
In addition to a DVD, bootable pendrive or external hard drive can be created as well. If you want to do so, follow instructions below.
Before following these instructions, insert a writable DVD or Blu-ray disc to your burner.
Burning the disc [^]
Using ImgBurn [^]
ImgBurn is a lightweight but very feature-rich disc burning program. It only requires about two megabytes disk space and contains a lot of settings. ImgBurn is closed-source freeware and - unfortunately - Windows-only software. I (Jyrki) personally use ImgBurn when burning discs within Windows.
Launch ImgBurn and press Write image file to disc. Select the disk image you just created.
At the settings window, keep Test Mode disabled. I also recommend keeping the Verify option enabled. Verifying the integrity of the disc after burning requires time and doesn't prevent the disc from becoming a so-called coaster, but it allows you to know immediately if the burning attempt failed, so you can try burning the disc again.
Keep the number of copies as 1 (or increase it, if you really want multiple copies of the disc). Use your best judgment while choosing the burning speed: according to this forum thread lowering the burning speed gives very mixed results in quality. I personally use ¾ of the maximum speed of the disc, for example 12x on a disc rated 16x.
After choosing the settings, press the big picture at the bottom-left of the window. Don't do anything that requires much computer resources while burning, because doing so increases the likelihood of burning failure.
That's it. You own now an automated recovery disc.
Using K3b [^]
K3b (KDE Burn Baby Burn) is the disc burning program included in KDE Software Compilation. It comes with most, if not all, KDE-based GNU/Linux distributions. It can also be installed on other distributions, but I recommend against doing so - K3b requires KDE base packages to be installed, and it doesn't make much sense to install KDE base only for K3b.
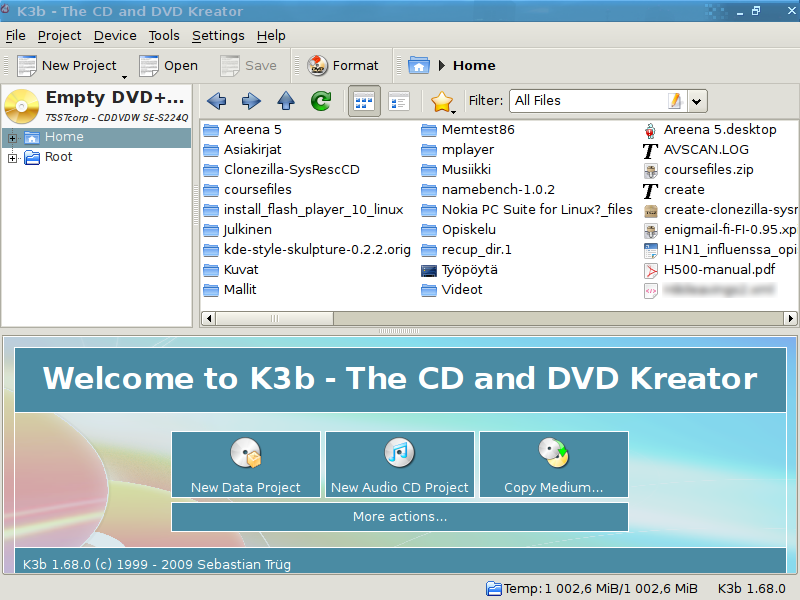
I launch K3b and navigate to the folder where the disk image resides.
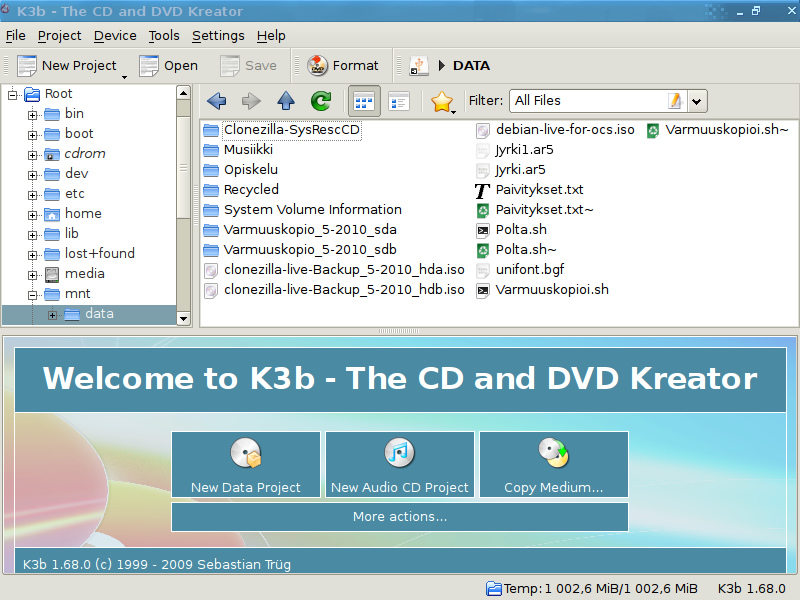
I double-click the file clonezilla-live-Backup_5-2010_hda.iso.
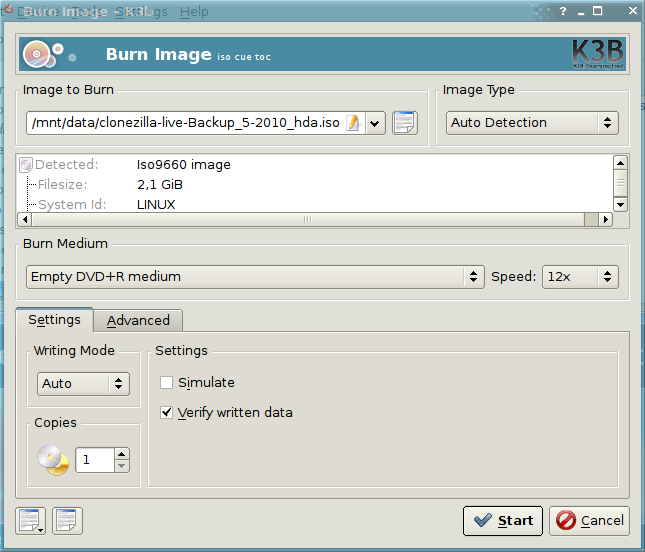
This window allows me to choose burning settings. I don't touch Image Type or Burn Medium, because they're auto-detected anyway. The maximum burning speed allowed by the disc is 16x, so I choose speed 12x. According to this forum thread low burning speed can decrease burning quality, so I always use speed near the maximum speed of the disc.
I keep Writing Mode as Auto and number of copies as 1. I also keep the Simulate option disabled and enable the Verify written data option. The latter allows me to notice immediately if the burning attempt failed, so I can try burning the disc again, rather than owning a so-called coaster and relying on it if something happens to my data...
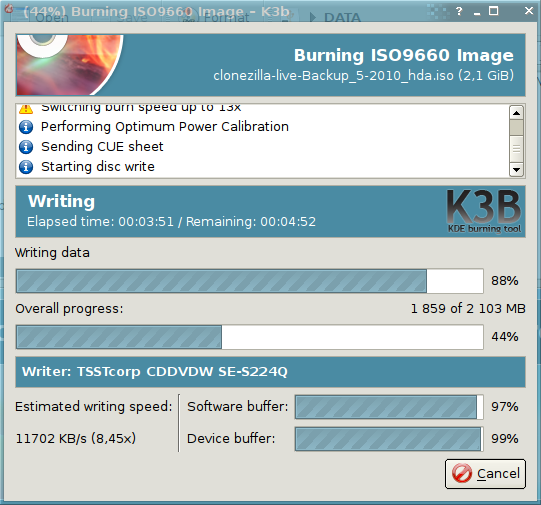
I click Start and the burning process begins.
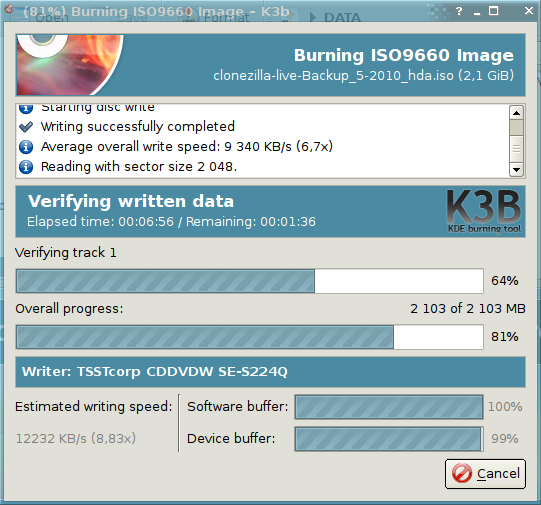
Because I enabled the Verify written data option, K3b starts verifying the integrity of the disc right after burning.
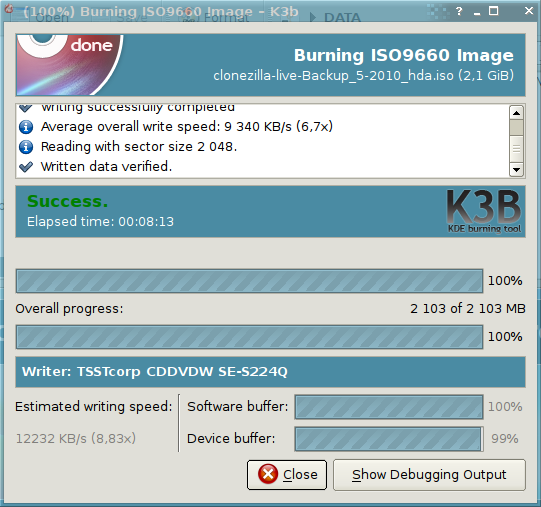
The burning attempt succeeded.
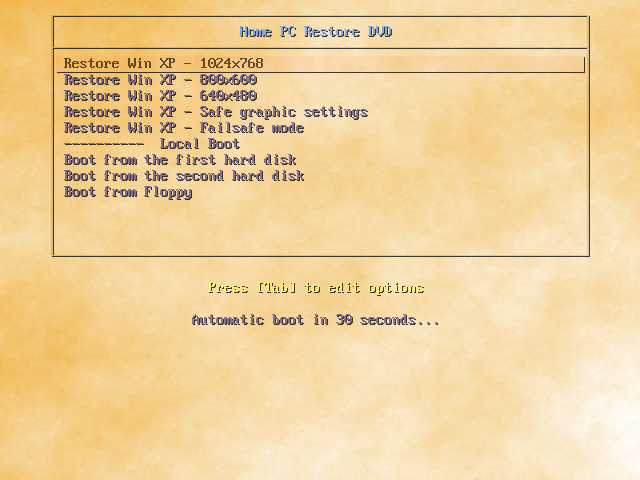
Here we can see the boot menu of the disc.
ZIP file instructions [^]
Often the image file is way too big to fit to even 8 GB DVD. Some people may also want to be able to overwrite the backup when it becomes outdated. In addition, netbooks don't have optical drives at all.
One option is using recovery thumb drive or external hard drive instead of DVD. If the external HD is big enough, the disk image can be even over a terabyte in size. Recovery USB drive can also be used on netbooks and overwritten at will.
Clonezilla Live allows creating a ZIP file instead of disk image. If you want to do so, follow this step-by-step guide.
Before creating the disk image, make sure it is split to pieces of four gigabytes or less. It is split automatically if you use Beginner mode, and if you use Expert mode, you should already know how the splitting setting can be changed.
Using GNU/Linux [^]
After creating the disk image and booting into GNU/Linux, make sure that the filesystem of the partition where you plan to put the disk image is FAT32. If you don't know the filesystem, open terminal and run this command as root:
parted -l
Note: How a command can be run as root depends on the GNU/Linux distribution you use. If it's Ubuntu or a distro based on it, simply put "sudo" above the command. For example, the above command can be executed by typing "sudo parted -l"
Note: The l in parameter -l is lowercase L, not number 1.
If your disk doesn't contain any FAT32 partition, but it contains a partition which is big enough and doesn't contain any important data, format the partition as FAT32. The command below needs root access too.
 |
The command below erases all the data on the target partition. Make sure you don't format a wrong partition by accident. |
mkfs.vfat -F 32 /dev/sdc1
Note: In the command replace /dev/sdc1 with the partition you wish to format.
After formatting the partition or noticing that it was already FAT32, extract the ZIP archive to the root of the partition. Also these commands need root rights.
mount /dev/sdc1 /media/usb
unzip clonezilla-live-Backup_5-2010_hdb.zip -d /media/usb/
Note: In the last command I have assumed your image file is clonezilla-live-Backup_5-2010_hdb.zip. You will have to replace this with the actual name of the file.
ZIP package contains a script to make the USB drive bootable. Let's run it. The latter of these commands needs root access.
|
The latter of the commands below replaces the existing bootloader of the target disk, if there is one. Make sure you don't select a wrong disk by accident. |
cd /media/usb/utils/linux
./makeboot.sh /dev/sdc1
That's all. Your thumb drive or external hard drive should be now an automatic recovery disk.
Using Windows [^]
If the Windows version you use is not Vista or 7, you need to be logged in as administrator. If you're not, but you have access to an admin account, log out and then log again in as admin.
If you don't have admin rights at all, boot into SystemRescueCD (you don't need graphical mode this time) and follow the instructions for GNU/Linux. In SystemRescueCD all commands are run as root, so you don't need to add any prefix to the commands.
After creating the disk image and booting into Windows, make sure that the filesystem of the partition where you plan to put the disk image is FAT32. If you don't know the filesystem, open My Computer, right-click the partition and select Properties. Then read the "File system" column. If there reads anything but FAT32, check other partitions of the disk too, if the disk contains multiple partitions. If you have a suitable FAT32 partition, continue from this step.
If your disk doesn't contain any FAT32 partition, but it contains a partition which is big enough and doesn't contain any important data, format the partition as FAT32.
|
Formatting erases all the data on the target partition. Make sure the partition contains nothing important. |
Right-click the partition and select Format.... If the Windows version you use is Vista or 7, an UAC prompt asks for admin password. Enter it.
At the format window, choose the FAT32 filesystem. You can enter any volume label (it means the name of the partition you can see next to the partition letter) and enable Quick Format if you're in a hurry. If Quick Format is disabled, Windows checks if the partition is physically OK after formatting it. Enabling Quick Format makes the formatting process many times faster and, contrary to popular belief, hardly ever causes any harm.
After formatting the partition or noticing that it was already FAT32, extract the ZIP archive to the root of the partition. Navigate to the folder where you've saved the ZIP file and right-click it. Choose Extract all..., and when you're asked for location where the archive is extracted, enter the letter of the partition, for example H:\. Do NOT choose any folder in the partition!
After that, browse to the folder X:\utils\win32, where X: is the letter of the partition.
Then, double-click makeboot.bat. If the Windows version you use is Vista or 7, another UAC prompt appears. Enter the password again. Then just follow the prompts to make the USB drive bootable.Now you're done. Your thumb drive or external hard drive should be an automatic recovery disk.