

Intro [^]
In this page I will demonstrate the creation of an image file by getting a backup of a virtual partition (/dev/sdb1). The image file will be saved in another virtual partition (/dev/sda1).
The first thing you do when you want to get a backup of a disk/partition, is make sure both the souce (to be backed up) and target (to hold the image file) partitions are in excellent condition (error free). This is the logical thing to do, cause I wouldn't want to backup a corrupt partition, or end up with a corrupt image file.
There is one more step I would want to take: I should check that my BIOS boot settings are correct, in order to boot from my CD/DVD drive.
Having done all of the above, I am ready to boot from Clonezilla-SysRescCD.
 |
The following pressentation has been made using Clonezilla Live v 1.2.5-35 |
Getting the backup [^]
Clonezilla-SysRescCD starting screen [^]
If you're fine with US keymap and English language (available languages are English, Spanish, French, Italian, Japanese and Chinese [both simplified and traditional]) or don't mind editing the boot parameters, just select Clonezilla Live at the starting screen and press ENTER. When the system comes up, it will load the program that will preform the backup. After that continue from this step.
If you need to change these settings, select one of the available Clonezilla Live menu entries, and press TAB. The current boot parameters will be displayed.
The default parameters for booting Clonezilla Live on a 1024x768 screen, are the following:
append initrd=/live/initrd1.img boot=live union=aufs
ocs_live_run="ocs-live-general" ocs_live_extra_param=""
ocs_prerun="/live/image/restorecd/prerun.normal" ocs_live_batch="no"
ocs_lang="en_US.UTF-8" ocs_live_keymap="NONE" vga=791 nolocales
By deleting the words in red, you instruct Clonezilla Live to ask you the values of these parameters. When the appropriate changes have been done (as shown bellow), just press ENTER to boot.
append initrd=/live/initrd1.img boot=live union=aufs
ocs_live_run="ocs-live-general" ocs_live_extra_param=""
ocs_prerun="/live/image/restorecd/prerun.normal" ocs_live_batch="no"
ocs_lang="" ocs_live_keymap="" vga=791 nolocales
Screen "Choose Language" [^]
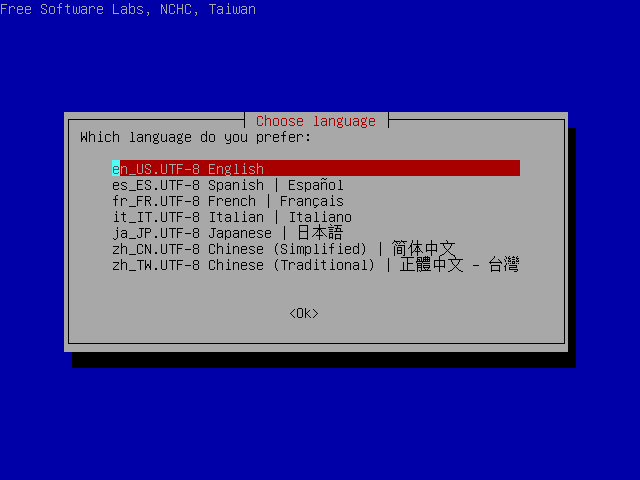
I select "en_US.UTF-8 English" and press ENTER.
Screen "Configuring console-data" [^]
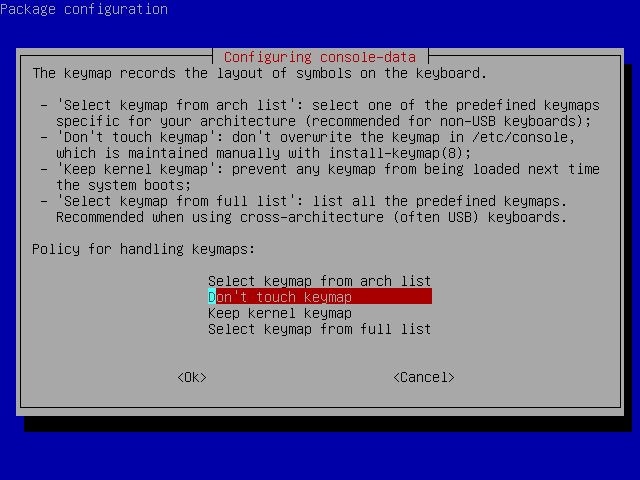
I select "Select keymap from full list" and press ENTER. If you're using US keymap, the default option "Don't touch keymap" is a better choice.
Screen "Configuring console-data" [^]
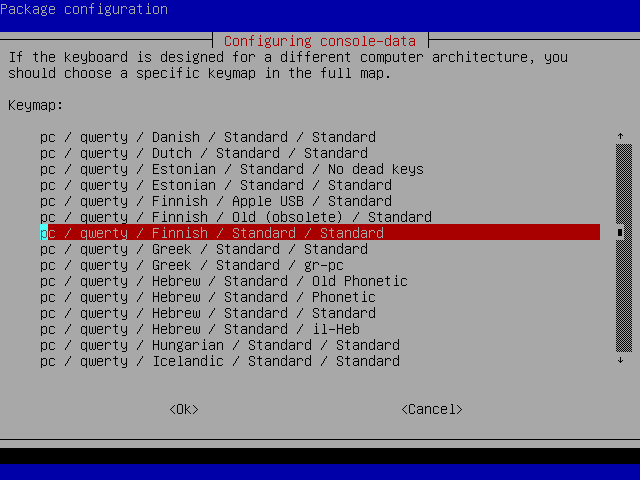
As I (the contributor who wrote a great deal of this page) use Finnish keyboard, I select "pc / qwerty / Finnish / Standard / Standard". Because you most likely use a different keyboard, choose the one you use.
Screen "Start Clonezilla" [^]
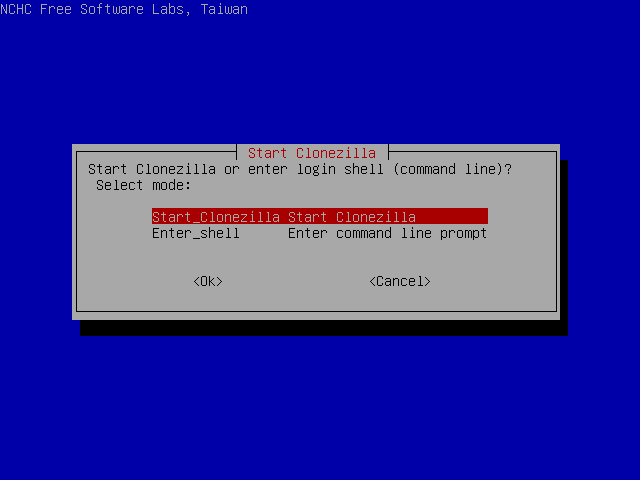
I select "Start Clonezilla" and press ENTER.
Screen "Clonezilla" [^]
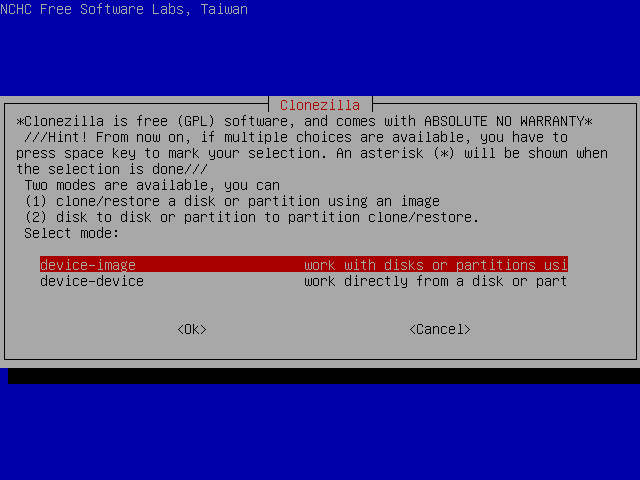
I select "device-image" and press ENTER.
Screen "Mount clonezilla image directory" [^]
In this screen I can select the way the image file directory will be saved.
Available options are local directory, remote directory through ssh, samba or nfs and skip, to use the previously used directory. More info about the image file can be found at section "About the Image file".
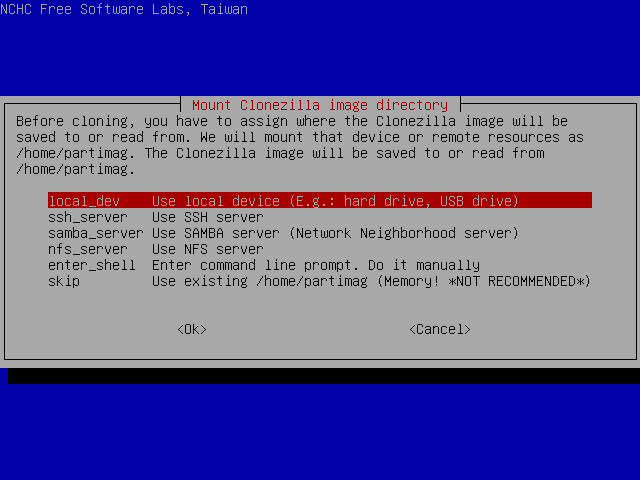
I select "local_dev" and press ENTER.
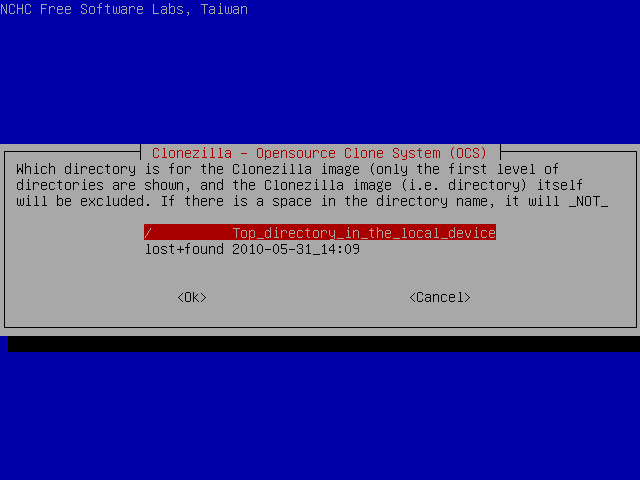
Next screen [^]
This is where I choose the location of the image file. It will be saved at the root directory of the selected partition.
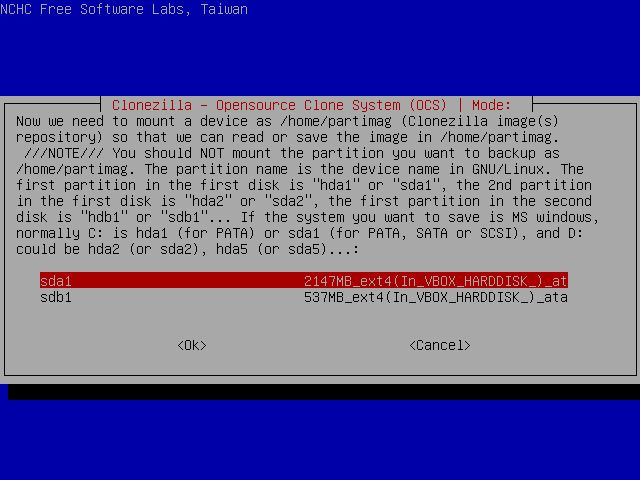
I select partition sda1 and press ENTER.
and then ENTER again.
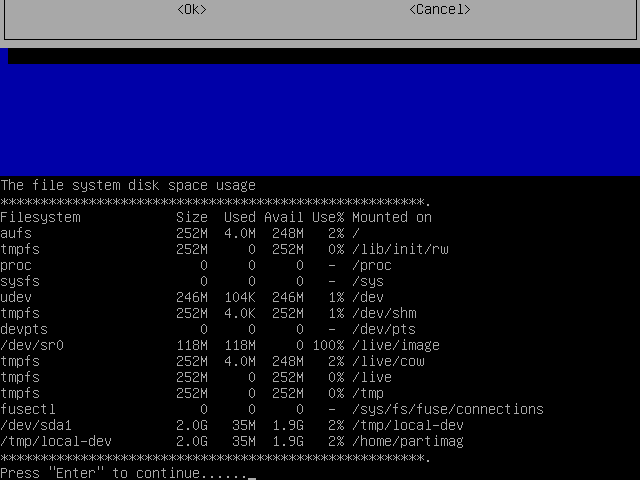
This screen displays the mounting result.
As we can see, /dev/sda1 has been successfully mounted under /tmp/local-dev.
Next Screen [^]
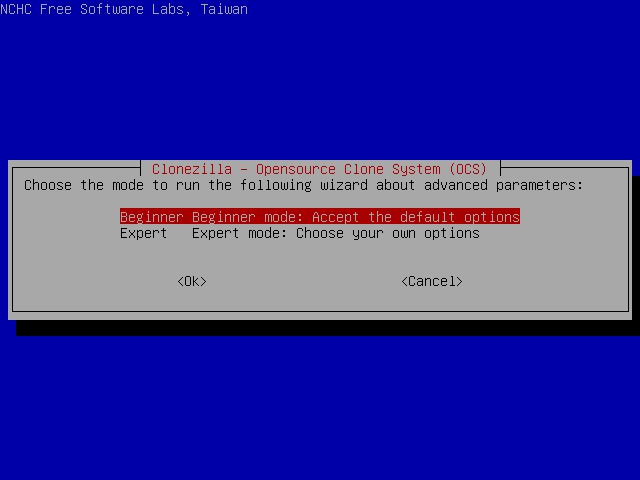
I select Beginer mode to accept the default backup options. If you select Expert mode, you can choose the options yourself. More details can be found here.
Screen "Select mode" [^]
Here I can select the desired operation.
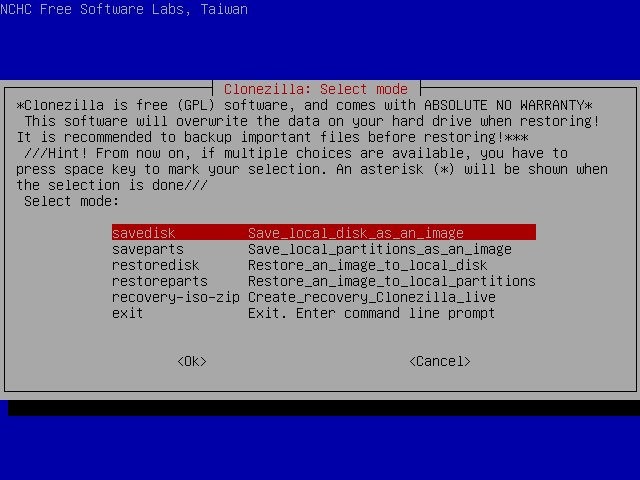
I select "savedisk" and press ENTER.
Next Screen [^]
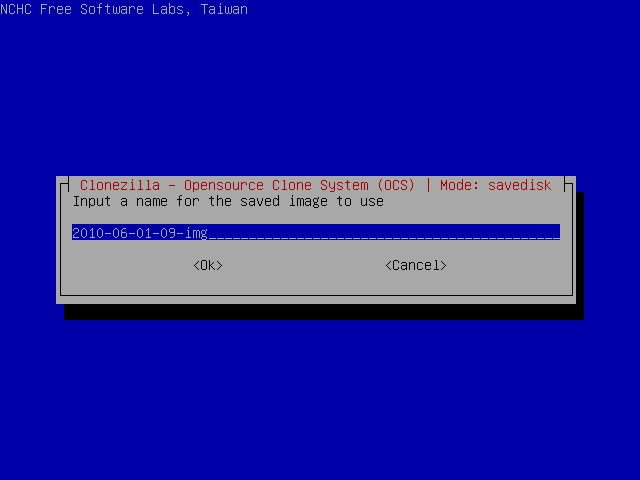
In this screen I select the image name.
I type "Backup_32-2010_sdb", which in my opinion is more informative name than the default.
Next Screen [^]
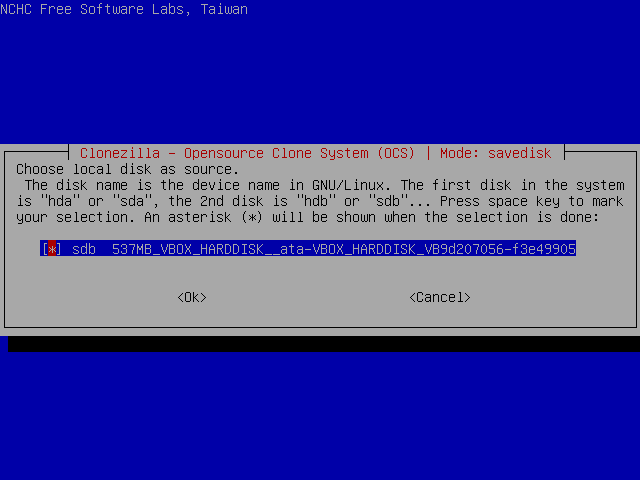
Finally I am asked to select the partition to save.
I just press ENTER again.
Starting the backup [^]
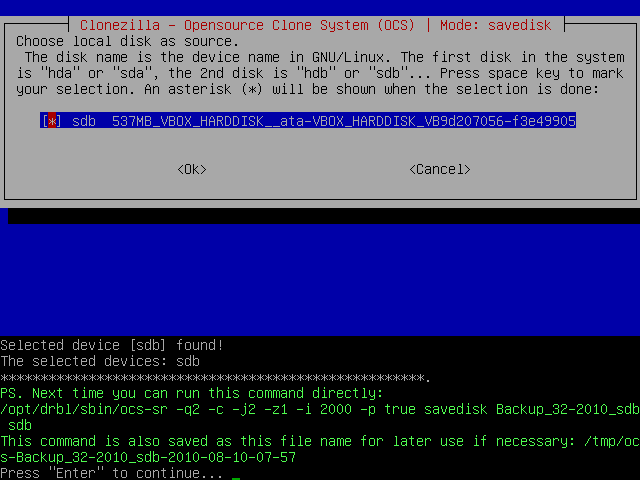
Then the program will display the command that will be executed and will ask me to press ENTER.
Then I will be asked to confirm the operation by pressing y and ENTER.
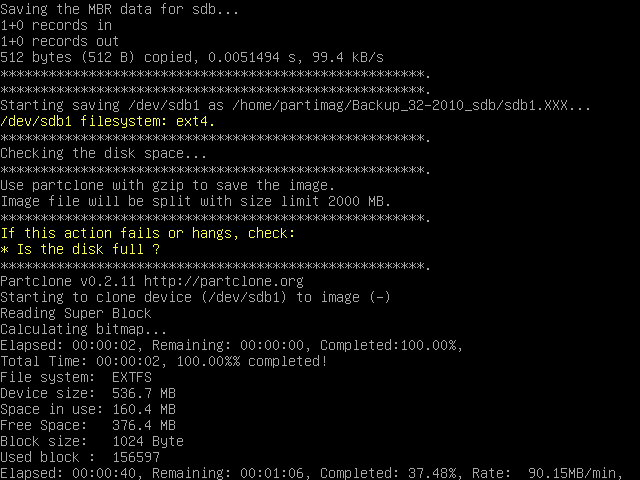
After that, the backup begins
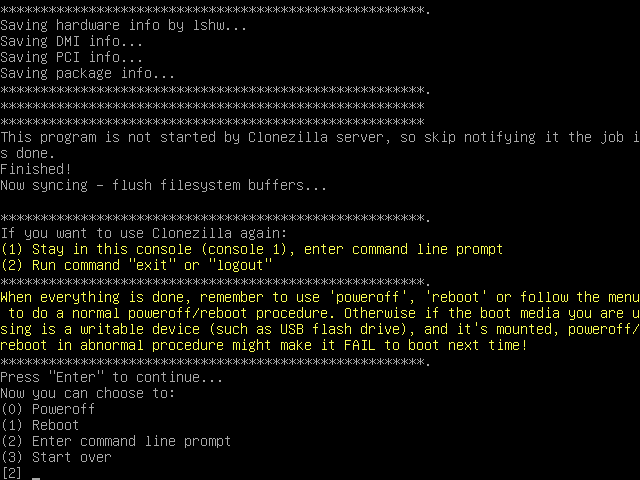
and when it's successfully completed, I press ENTER to get to the shell. Then, I execute the commands:
sudo su -
cd
umount -a
reboot
to reboot the system.